This is a very important function. I wanted to add it for a long time, but I was busy and shelved it. It took some time to complete this function and related demos when New Year's Day (2022.1.1) started.
It is not difficult to locate the coordinates of the target widget; but it is necessary to get the size of the custom widget we passed in, so that the custom widget can be stacked in a more suitable position (through some calculations, the center point is obtained)
- In fact, Flutter provides a very suitable component
CustomSingleChildLayout, which also provides offset coordinates function, which is very suitable in theory - However, the
CustomSingleChildLayoutandSizeTransitionanimation controls have a footprint conflict and can only use theAnimatedOpacityfade animation - Displacement animation can't be used, I can't bear it, I abandoned
CustomSingleChildLayout; I used all kinds of tricky operations, and finally got the size of the custom widget, which perfectly achieved the effect
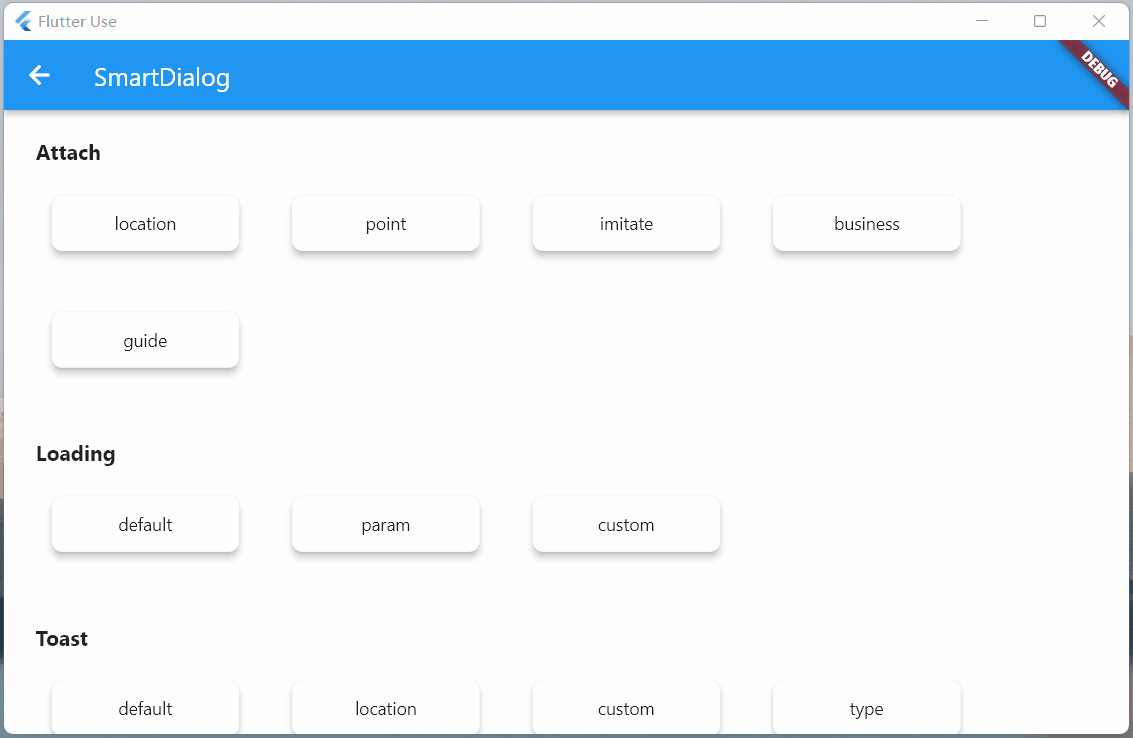
Locate the dialog, use the showAttach method, the parameter comments are written in great detail, just look at the comments if you don't understand the usage
Powerful positioning function
- The BuildContext of the target widget must be passed, and the coordinates and size of the target widget need to be calculated through it
void _attachLocation() {
  attachDialog(BuildContext context, Alignment alignment) async {
    SmartDialog.showAttach(
      targetContext: context,
      usePenetrate: true,
      alignment: alignment,
      clickMaskDismiss: false,
      builder: (_) => Container(width: 100, height: 100, color: randomColor()),
    );
    await Future.delayed(Duration(milliseconds: 350));
  }

  //target widget
  List<BuildContext> contextList = [];
  List<Future Function()> funList = [
    () async => await attachDialog(contextList[0], Alignment.topLeft),
    () async => await attachDialog(contextList[1], Alignment.topCenter),
    () async => await attachDialog(contextList[2], Alignment.topRight),
    () async => await attachDialog(contextList[3], Alignment.centerLeft),
    () async => await attachDialog(contextList[4], Alignment.center),
    () async => await attachDialog(contextList[5], Alignment.centerRight),
    () async => await attachDialog(contextList[6], Alignment.bottomLeft),
    () async => await attachDialog(contextList[7], Alignment.bottomCenter),
    () async => await attachDialog(contextList[8], Alignment.bottomRight),
  ];
  btn({
    required String title,
    required Function(BuildContext context) onTap,
  }) {
    return Container(
      margin: EdgeInsets.all(25),
      child: Builder(builder: (context) {
        Color? color = title.contains('all') ? randomColor() : null;
        contextList.add(context);
        return Container(
          width: 130,
          child: ElevatedButton(
            style: ButtonStyle(
              backgroundColor: ButtonStyleButton.allOrNull<Color>(color),
            ),
            onPressed: () => onTap(context),
            child: Text('$title'),
          ),
        );
      }),
    );
  }

  SmartDialog.show(builder: (_) {
    return Container(
      width: 700,
      padding: EdgeInsets.all(50),
      decoration: BoxDecoration(
        borderRadius: BorderRadius.circular(20),
        color: Colors.white,
      ),
      child: SingleChildScrollView(
        child: Wrap(alignment: WrapAlignment.spaceEvenly, children: [
          btn(title: 'topLeft', onTap: (context) => funList[0]()),
          btn(title: 'topCenter', onTap: (context) => funList[1]()),
          btn(title: 'topRight', onTap: (context) => funList[2]()),
          btn(title: 'centerLeft', onTap: (context) => funList[3]()),
          btn(title: 'center', onTap: (context) => funList[4]()),
          btn(title: 'centerRight', onTap: (context) => funList[5]()),
          btn(title: 'bottomLeft', onTap: (context) => funList[6]()),
          btn(title: 'bottomCenter', onTap: (context) => funList[7]()),
          btn(title: 'bottomRight', onTap: (context) => funList[8]()),
          btn(
            title: 'allOpen',
            onTap: (_) async {
              for (var item in funList) await item();
            },
          ),
          btn(
            title: 'allClose',
            onTap: (_) => SmartDialog.dismiss(status: SmartStatus.allAttach),
          ),
        ]),
      ),
    );
  });
}
The animation effect and the show method are almost the same. For this consistent experience, a lot of targeted optimizations have been made internally.
Custom coordinate points
- In most cases, targetContext is basically used
SmartDialog.showAttach(
  targetContext: context,
  builder: (_) => Container(width: 100, height: 100, color: Colors.red),
);- Of course, there are still a few cases where custom coordinates need to be used. The targetBuilder parameter is also provided here: if the targetBuilder parameter is set, the targetContext will automatically become invalid.
- targetContext is a very common scenario, so here it is set as a mandatory parameter
- The callback parameters in targetBuilder are also calculated from targetContext
- In some special cases, the targetContext can be set to be empty, and the default value of the callback parameter in targetBuilder is zero
SmartDialog.showAttach(
  targetContext: widget,
  target: Offset(100, 100);,
  builder: (_) => Container(width: 100, height: 100, color: Colors.red),
);- It seems that the custom coordinate point effect
void _attachPoint() async {
  targetDialog(Offset offset) {
    var random = Random().nextInt(100) % 5;
    var alignment = Alignment.topCenter;
    if (random == 0) alignment = Alignment.topCenter;
    if (random == 1) alignment = Alignment.centerLeft;
    if (random == 2) alignment = Alignment.center;
    if (random == 3) alignment = Alignment.centerRight;
    if (random == 4) alignment = Alignment.bottomCenter;
    SmartDialog.showAttach(
      targetContext: null,
      targetBuilder: (_, __) => offset,
      usePenetrate: true,
      clickMaskDismiss: false,
      alignment: alignment,
      keepSingle: true,
      builder: (_) {
        return ClipRRect(
          borderRadius: BorderRadius.circular(10),
          child: Container(width: 100, height: 100, color: randomColor()),
        );
      },
    );
  }

  SmartDialog.show(builder: (_) {
    return Container(
      width: 600,
      height: 400,
      alignment: Alignment.center,
      decoration: BoxDecoration(
        borderRadius: BorderRadius.circular(20),
        color: Colors.white,
      ),
      child: GestureDetector(
        onTapDown: (detail) => targetDialog(detail.globalPosition),
        child: Container(
          width: 500,
          height: 300,
          color: Colors.grey,
          alignment: Alignment.center,
          child: Text('click me', style: TextStyle(color: Colors.white)),
        ),
      ),
    );
  });
}
'targetBuilder is a very powerful param. Combine it with the 'scalePointBuilder' param to make a lot of very interesting bubble dialog.
Imitate DropdownButton
-
Actually imitating DropdownButton is not easy
- First calculate the position of the DropdownButton control and display the clicked collapsed control on its position
- Need to handle the click event of the area outside the DropdownButton (close the DropdownButton outside the click area)
- You also need to listen to the return event and manually pop the routing event; for this type of event, you need to close the DropdownButton
-
This thing needs to be customized, which is quite annoying; however, now you can use
SmartDialog.showAttachto easily imitate one, and the above points need to be taken care of for you
void _attachImitate() {
  //Imitate DropdownButton
  imitateDialog(BuildContext context) {
    var list = ['Little Dude', 'Little Feifei', 'Little Pig'];
    SmartDialog.showAttach(
      targetContext: context,
      usePenetrate: true,
      builder: (_) {
        return Container(
          margin: EdgeInsets.all(10),
          decoration: BoxDecoration(boxShadow: [
            BoxShadow(color: Colors.black12, blurRadius: 8, spreadRadius: 0.2)
          ]),
          child: Column(
            children: List.generate(list.length, (index) {
              return Material(
                color: Colors.white,
                child: InkWell(
                  onTap: () => SmartDialog.dismiss(),
                  child: Container(
                    height: 50,
                    width: 100,
                    alignment: Alignment.center,
                    child: Text('${list[index]}'),
                  ),
                ),
              );
            }),
          ),
        );
      },
    );
  }

  //imitate widget
  dropdownButton({String title = 'Dropdown'}) {
    return DropdownButton<String>(
      value: '1',
      items: [
        DropdownMenuItem(value: '1', child: Text('$title: Xiao Dian')),
        DropdownMenuItem(value: '2', child: Text('Little Feifei')),
        DropdownMenuItem(value: '3', child: Text('Piggy'))
      ],
      onChanged: (value) {},
    );
  }

  imitateDropdownButton() {
    return Builder(builder: (context) {
      return Stack(children: [
        dropdownButton(title: 'Attach'),
        InkWell(
          onTap: () => imitateDialog(context),
          child: Container(height: 50, width: 140, color: Colors.transparent),
        )
      ]);
    });
  }

  SmartDialog.show(builder: (_) {
    return Container(
      width: 600,
      height: 400,
      alignment: Alignment.center,
      margin: EdgeInsets.all(20),
      decoration: BoxDecoration(
        borderRadius: BorderRadius.circular(20),
        color: Colors.white,
      ),
      child: MaterialApp(
        debugShowCheckedModeBanner: false,
        home: Container(
          padding: EdgeInsets.symmetric(horizontal: 100),
          child: Row(
            mainAxisAlignment: MainAxisAlignment.spaceBetween,
            children: [dropdownButton(), imitateDropdownButton()],
          ),
        ),
      ),
    );
  });
}
This time, the function of highlighting a specific area of the mask has been added, which is a very practical function!
- You just need to set the
highlightBuilderparameter - Define the highlighted area, it must be an opaque Widget, such as Contaienr, a color must be set (no color value required)
- You can also use pictures of all kinds of strange shapes, so that you can show the highlighted areas of various complex shapes
- The return type of
highlightBuilderis Positioned, you can position any area on the screen that needs to be highlighted - You can quickly get the coordinates and size of the target widget through the parameters of the
highlightBuildercallback
SmartDialog.showAttach(
  targetContext: context,
  alignment: Alignment.bottomCenter,
  highlightBuilder: (Offset targetOffset, Size targetSize) {
    return Positioned(
      top: targetOffset.dy - 10,
      left: targetOffset.dx - 10,
      child: Container(
        height: targetSize.height + 20,
        width: targetSize.width + 20,
        color: Colors.white,
      ),
    );
  },
  builder: (_) => Container(width: 100, height: 100, color: Colors.red),
)
Actual business scenarios
- Here are two common examples. The code is a little too much, so I won't post it. If you are interested, please check: flutter_use

The above two business scenarios are very common. Sometimes, we need to be above or below the target widget or a specific area without being covered by a mask.
If you do it yourself, you can do it, but it will be cumbersome; now you can easily achieve this using the highlightBuilder parameter in showAttach
Guide Actions
Guidance operations are still very common in apps, and you need to specify the area to highlight, and then introduce its functions
- Using the
highlightBuilderparameter inshowAttachcan also easily achieve this requirement, see the effect- The code is also a little bit more, if you are interested, please check: flutter_use