Homebridge on Synology DSM 6 with Docker
This guide will show you how to run the homebridge/homebridge docker image on a Synology NAS running DSM 6.
- Requirements
- Limitations
- Installing Docker on Synology DSM
- Step 1: Download Docker Image
- Step 2: Create Container
- Complete: Login to the Homebridge UI
- Viewing Homebridge Logs
- Opening Ports / Synology
- Connect iOS / HomeKit
- Scheduled Reboot / Synology
- Updating Homebridge on Synology
- Major Node.js Version Updates
Homebridge provides a Synology DSM package that can be installed via Package Center:
- A Docker compatible Synology NAS
- Disk Station Manager 6+
- The Docker container does not have access to the hardware video encoder.
You can install the Docker app using the Synology DSM Package Center.
Open the Docker app on your Synology DSM, go to the Registry section and then search for and download the homebridge/homebridge image.

Make sure you select the latest tag:

Launch a new container using the homebridge/homebridge image.

Name your container appropriately and then click Advanced Settings:

Check the box to Enable auto-restart. This is recommended if you want your container to automatically restart after your Synology DSM reboots or if Homebridge crashes.

Click the Volume tab and then Add Folder.

Create a new empty folder to store your Homebridge configuration in. This will allow you to update, delete and recreate the Homebridge container without loosing any plugins or configuration.
In case you need to reset your configuration, just empty the contents of this folder and restart the container.

Set the Mount path to be /homebridge.

Click the Network tab and check the box to Use the same network as Docker host. This will allow the Homebridge to be discoverable by iOS and HomeKit on your local network.

Click the Environment tab and set the variable named ENABLE_AVAHI to 0.

Click OK to save your advanced settings and then click Apply to start the homebridge/homebridge container.

The container is now setup and ready for use.
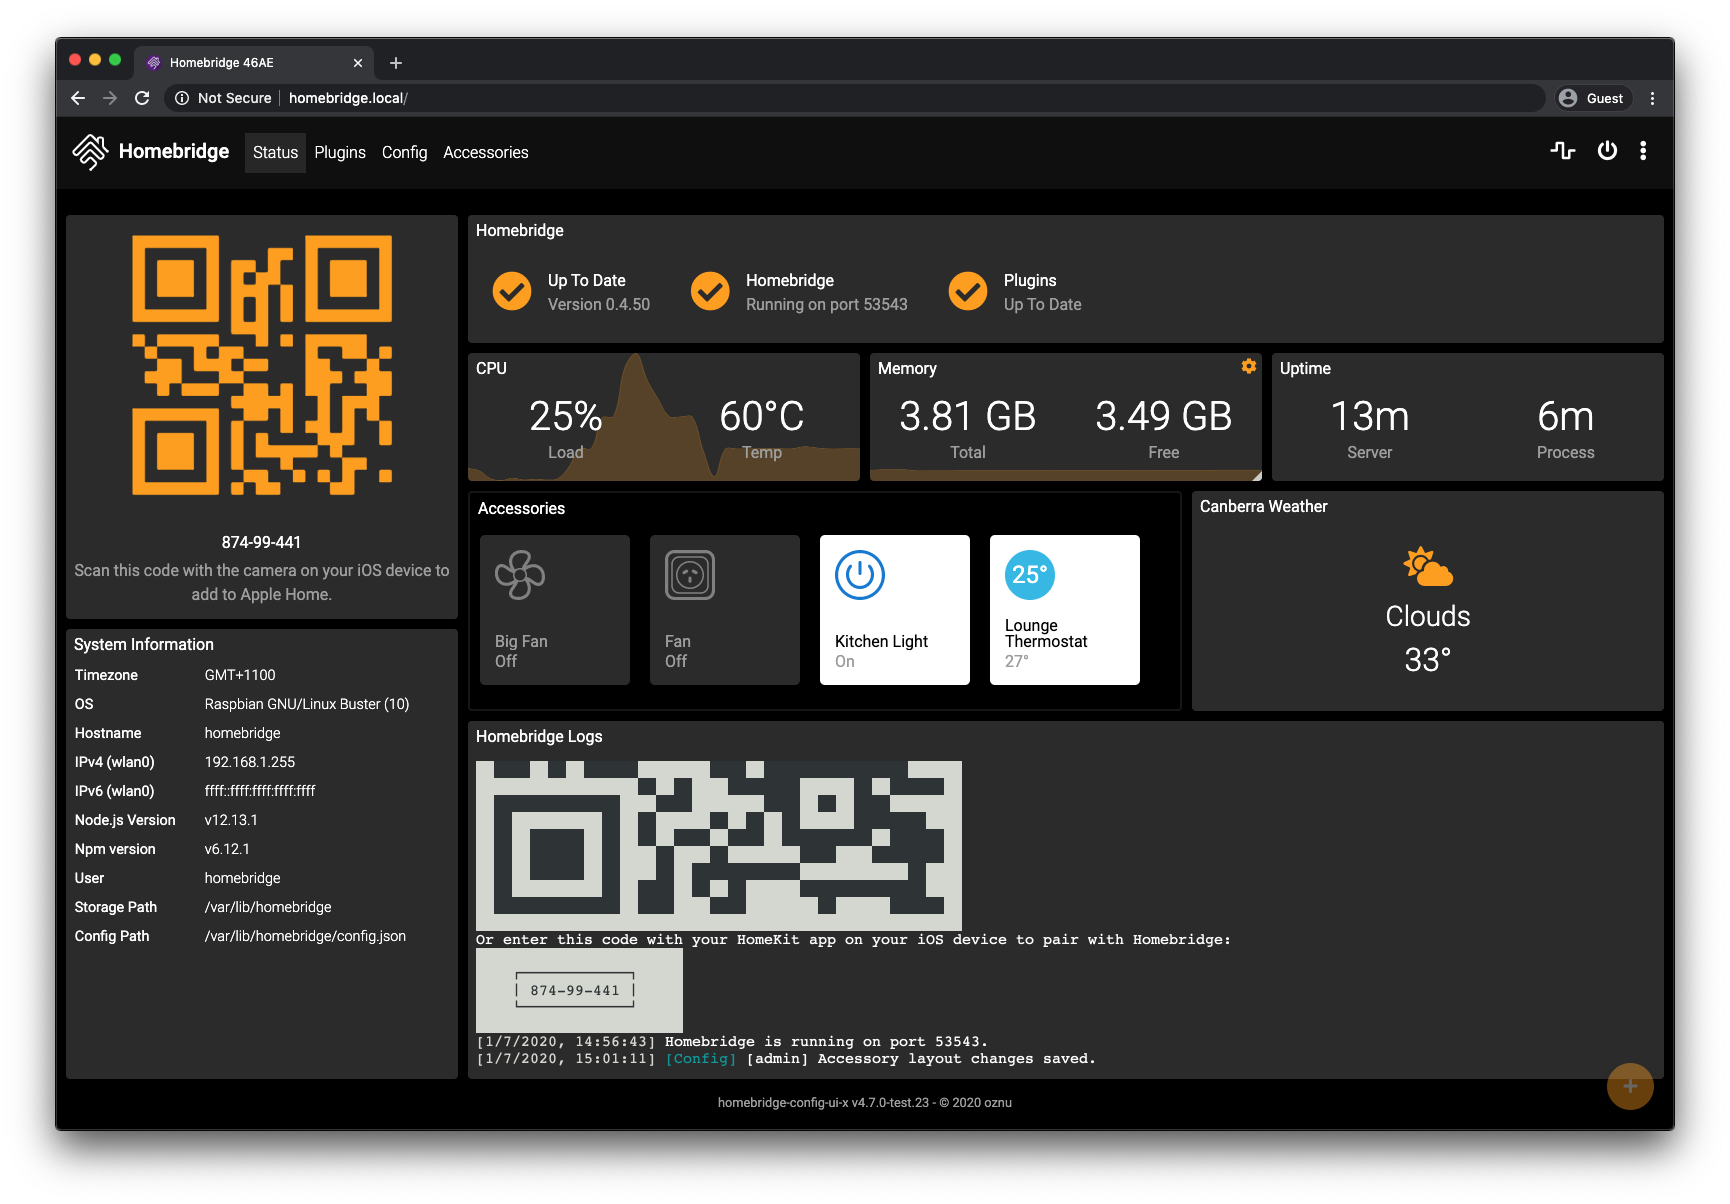
You can access the Homebridge UI using http://IP_ADDRESS:8581, replacing IP_ADDRESS with the IP of your Synology server.
The Homebridge UI web interface will allow you to install, remove and update plugins, and modify the Homebridge config.json and manage other aspects of your Homebridge service.
You can view the Homebridge logs using the Log tab. You may need these to see what is going on and it is helpful when filing a bug about homebridge.

You can export the logs in html or csv format from Synology.
If you have a firewall set up on your Synology you must open the following ports to devices on your LAN using TCP or homebridge won’t be able to work properly with HomeKit:
| Port | Description |
|---|---|
| 8581 | Homebridge interface |
| 5353 | mDNS (without it, you get “No Response” from devices when lookups fail.) |
You must also open up the ports Homebridge has been assigned. See the config.json file.
See Control Panel > Security > Firewall > Edit Rules.
You should now be able to see the Homebridge as a new HomeKit accessory in the Apple iOS Home App. You can pair the device using the default pin. You can change the pin by editing the config.json file.
When using iOS 11 you will need to select Don't have a Code or Can't Scan and then under the Manual Code heading select the Enter code... link.

Optionally, you can schedule Synology to reboot homebridge at a convenient time such as the middle of the night. There are two methods for doing this.
- Login to your Synology and open the Control Panel.
- Choose
Task Scheduler. - Choose
Createand thenScheduled TaskandUser-defined Script. - Under
Taskgive it a name like,Reboot homebridgeor whatever you like. - Leave
Userset toroot. - Open the
ScheduleTab and set whatever time you would like to run the reboot. Daily, weekly, etc. Note, Reboot takes about 40 seconds max. - Open the
Task Settingstab and enter the following. Note the part before&&(all of line 2) will log all reboots to a file in your homebridge directory before the reboot occurs. You can skip that if you prefer. If you include it, make sure that permissions are set correctly for that file.
/bin/echo "$(date) rebooting homebridge..." >>
/volume1/docker/homebridge/update.log && \
sudo /usr/local/bin/docker container restart homebridge

Use this script instead of directly rebooting. This allows you to do other things such as automatically update plugins and randomize your login wallpaper.
To update to the latest version of Homebridge and the homebridge/homebridge container using the Synology docker client, go to the Docker app in Synology.
- On the
Containertab stop the existing Homebridge container (Select the container, then Action > Stop). - Edit the existing container and change it's name to
homebridge-old. - Go to the
Imagetab. Note the tag of the docker image you have been using. Probablylatest. You will need to know this for the following steps. - Delete that image. (Note Synology Docker may not let you delete the image if it is associated with a container. If that's the case, continue on to the next step.)
- Go to the
Registrytab and findhomebridge/Homebridgeby searching forhomebridge homebridge. Choose the same tag that you saw in the step above. - Download the new Image
- When the image download is complete, go to the
Containertab and selecthomebridge-oldthen clickSettingsthenDuplicate settings. - Rename the container
homebridge. - Start the
homebridgecontainer. - Delete the
homebridge-oldcontainer once you have confirmed everything is working.
Or - Use this process to update in place
(Make sure to have mapped the /homebridge folder to store your local configuration, as per the instructions above).
- On the
Containertab, stop the existing Homebridge container (Select the container, then Action > Stop). - Then
Clearthe image (Select the container, then Action > Clear). This will clear the image, your local configuration will still be in the/homebridgefolder you mapped above. - Login to your Synology DSM as execute this command to download the latest image:
sudo /usr/local/bin/docker pull "homebridge/homebridge" - When the image download is complete, go to the
Containertab and start thehomebridgecontainer.
Or - Use this process to update via terminal
sudo docker stop homebridge
sudo docker pull homebridge/homebridge:latest
sudo docker start homebridge
Note, once you verify that your new homebridge container is running, you may want to run docker's prune command to get rid of code no longer in use.
sudo docker system prune
You should not try to upgrade the version of Node.js in your local install. To upgrade Node.js you will need to download the latest version of the Docker image when it is ready. This can be done using the following commands in the section, Updating Homebridge on Synology.