Start a new course
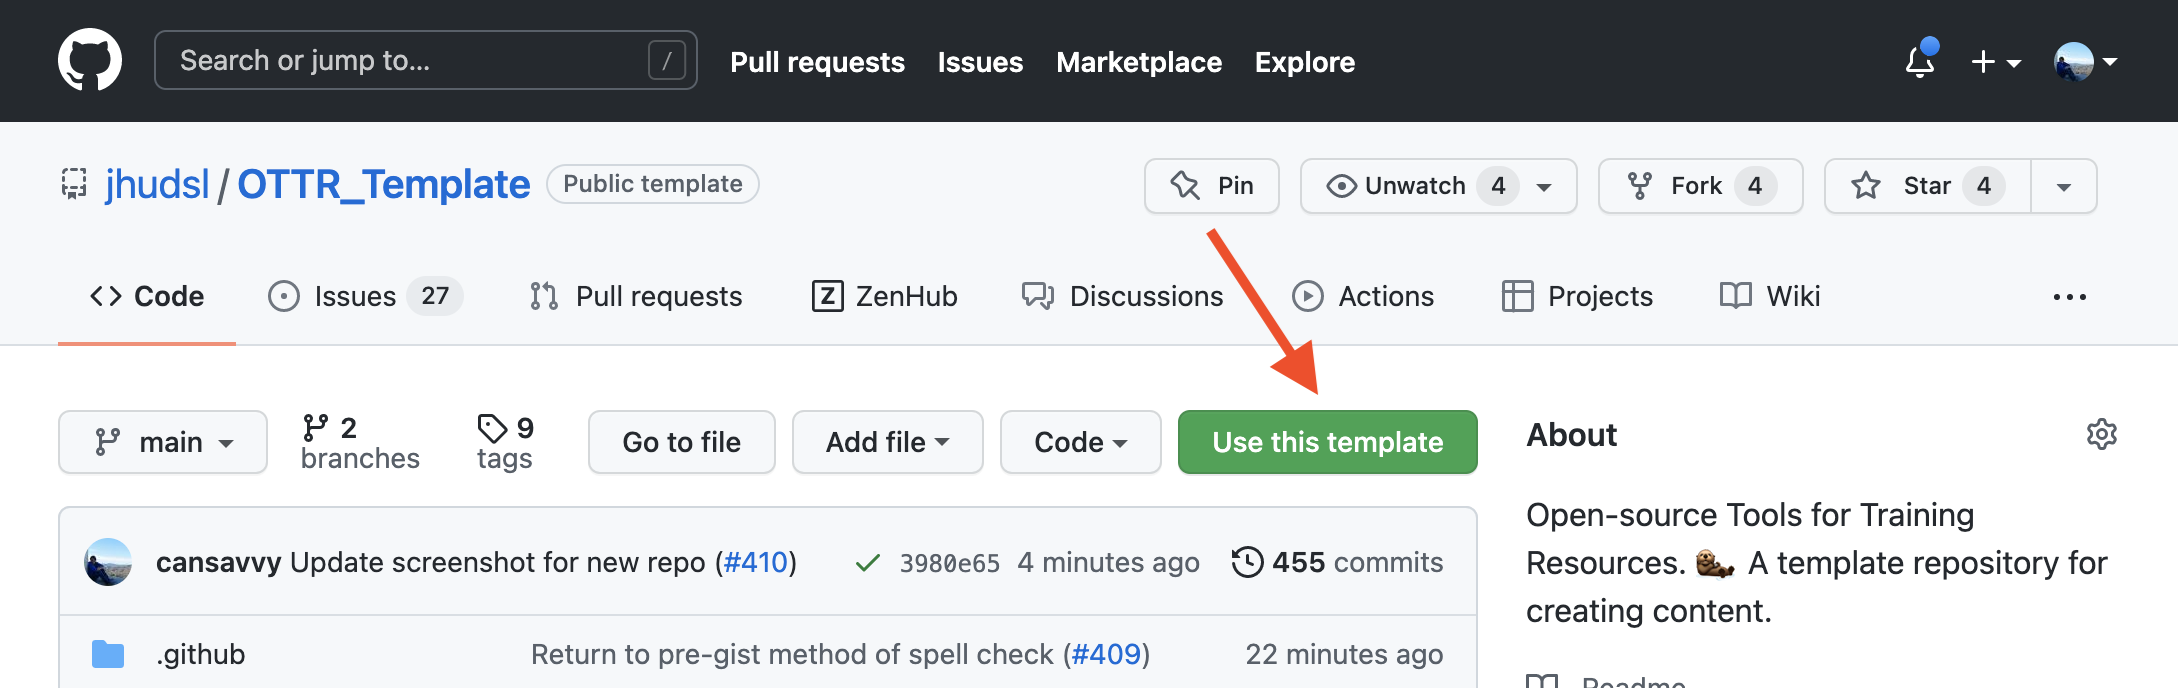
- In the upper right of the landing page for this repository, click the green
Use this templatebutton and follow the steps to set up your course's GitHub repository.
- Name your repository and fill in a short description.
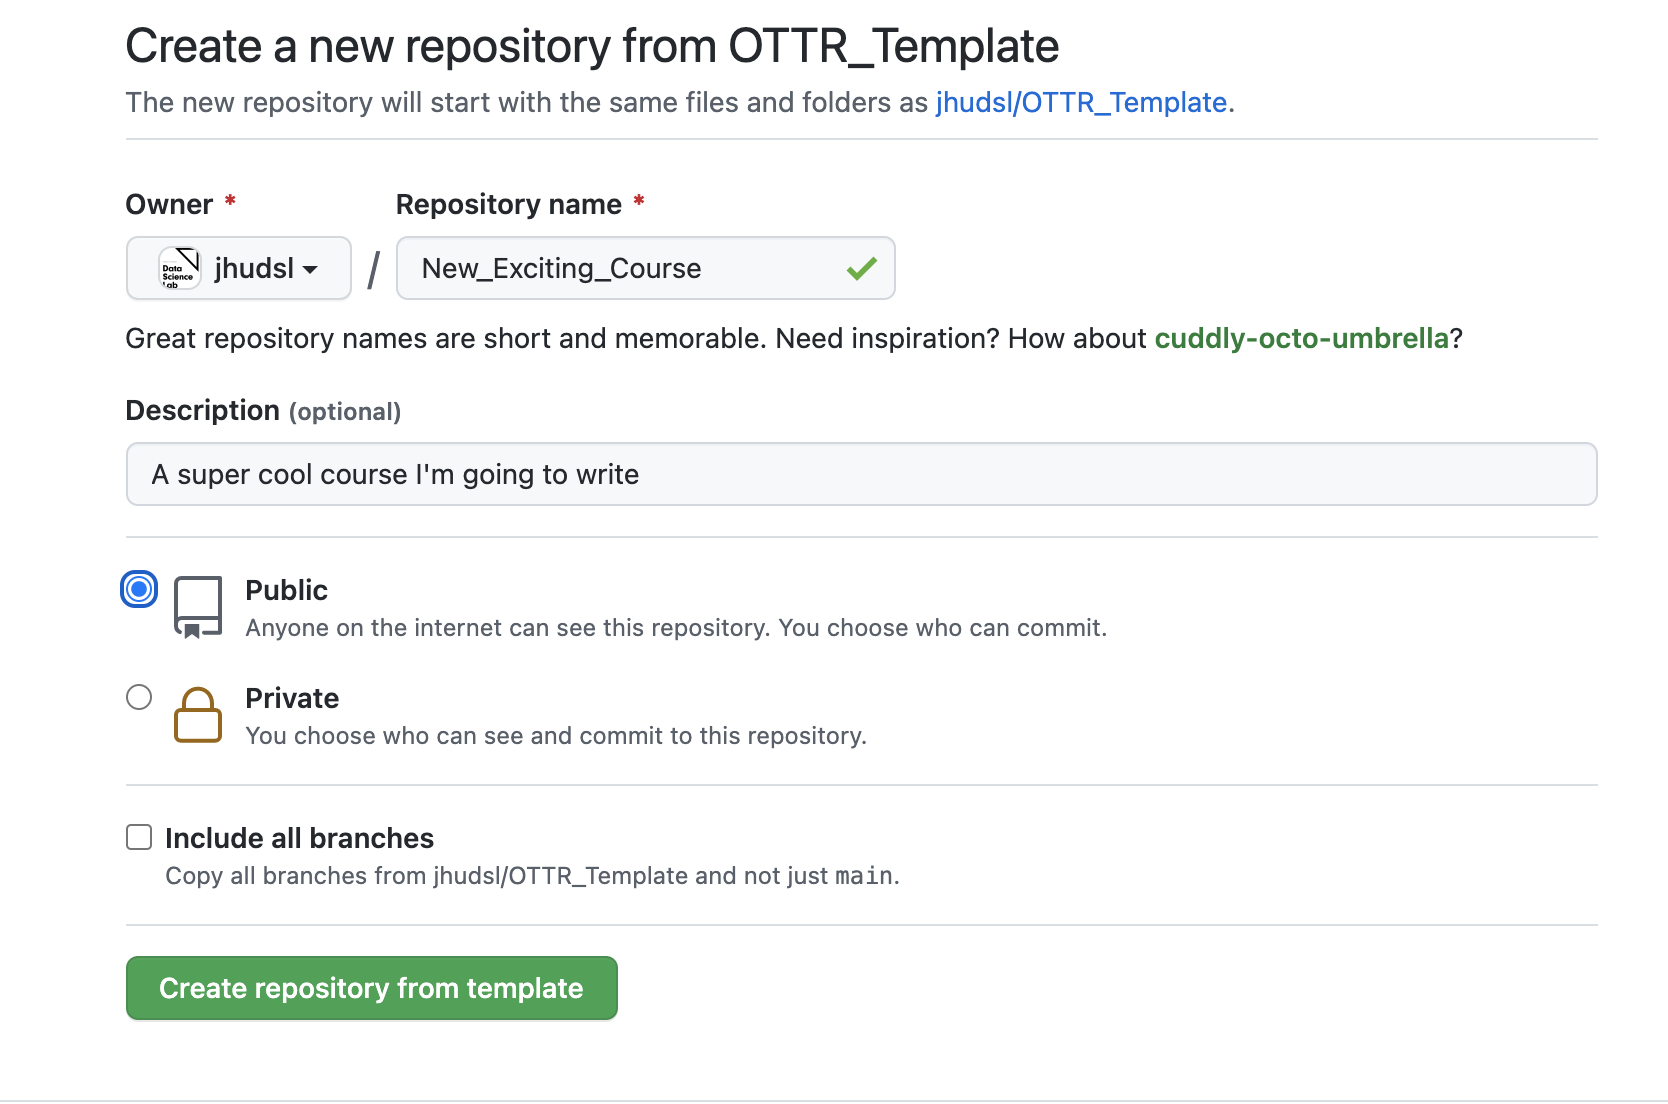
- Clone the repository
We then recommend that you set up a project with RStudio and connect this with your repository on GitHub.
Click here to see more about creating new projects in RStudio and setting them up with Git version control.
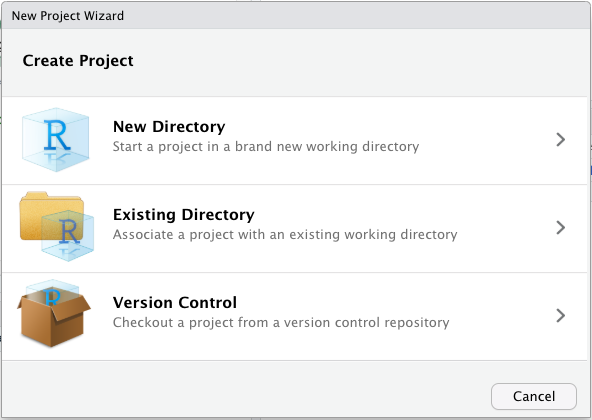
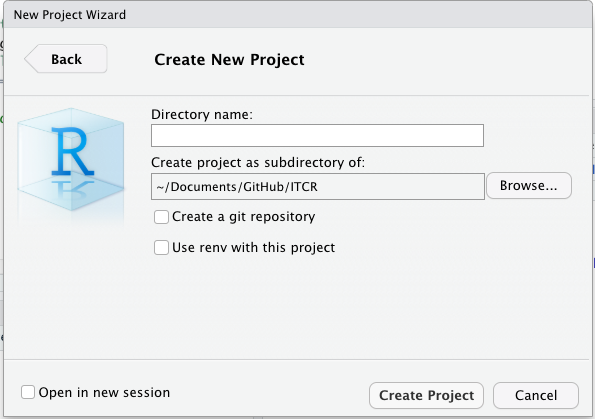
First, to create a new project in RStudio, select File > New Project.

Select a directory for your course to live. We suggest a new directory.
Select New Project for project type.
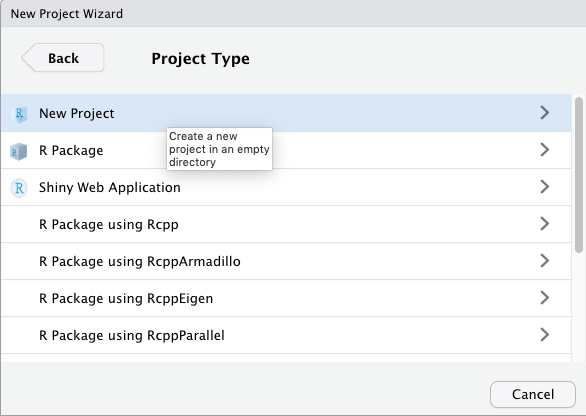
If creating a new directory for your project, name the new directory and decide where it should be.
Go back to your new GitHub repository for the course you are creating and click on the green button on the right corner of the landing page to clone the repository.
This will pop up a window that looks like this:
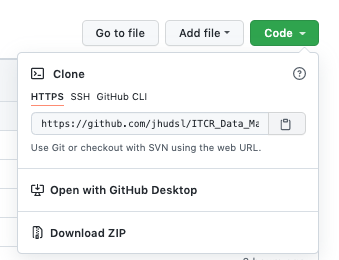
Click the button that looks like a clip board to copy the location of your repository on GitHub.
In the terminal pane of RStudio, make sure you are in the newly created directory for your project.
Then type: git init and press enter.
Then type:git clone and paste the location of the repository that you just copied from GitHub and press enter.
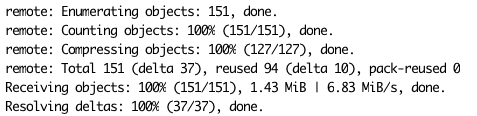
Finally type: git pull origin main and you should see the files on GitHub populate your directory.
This will give you a message like this:
Next make a new git branch in the terminal in RStudio by typing the following and replacing branch_name with something that makes sense for you like update_about: git checkout -b branch_name
Now you are ready to start making changes to files for the next section!
Also see here for more information about how to make changes to your files with pull requests using RStudio and Git.
To make changes to files, you can open them in Rstudio by clicking on the file name from the file pane (lower right corner).

After editing a file, make sure you save it.
Then in the terminal you can use Git for version control. Again, if you are new to Git please see this tutorial.
However, as a brief introduction:
After making changes to the about.Rmd file. For example, say you add a new line.
You can type: git add and the file name to stage it for committing to GitHub. For example git add about.Rmd.
Then type a message about what changes you are committing to the copy on GitHub:
For example:
git commit -m "updating the about file."
Then type git push.
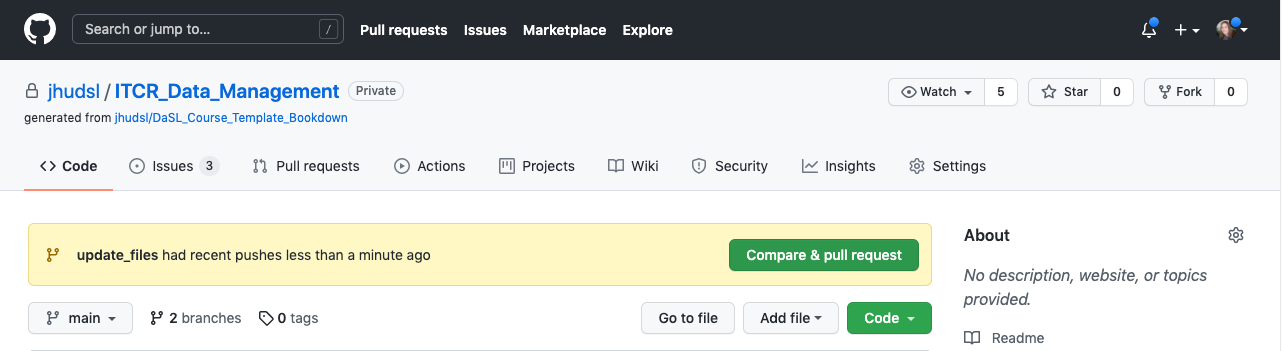
You will get a message about your branch the first time - you can type what git suggests and press enter. Then on GitHub you should see that new Pull Request is possible.
Click on the green button that says Compare & pull request.
Then fill out the prompt with the information about your pull request. Don't worry if some of the later sections are unclear, we will get to more of that in a bit.
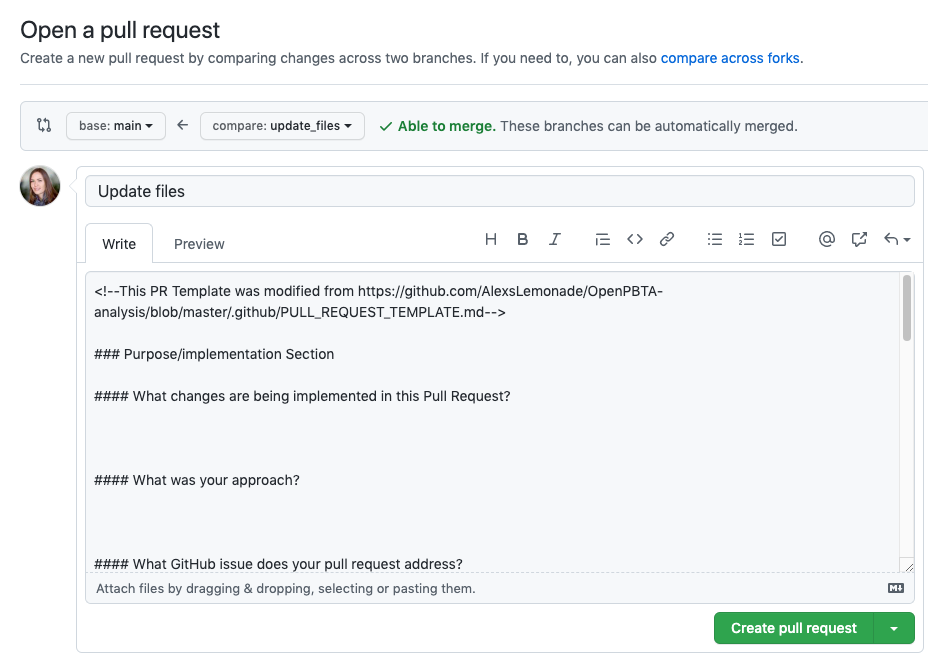
When you are done click the Create pull request button!
The first time you shouldn't have any conflicts with the main branch, thus you should see something like this:

If everything looks good, you can press the Merge pull request button.