This project allows with a simple bash command to create WP plugins already organized in the object-oriented format with the added bonus of a preconfiguration of composer and webpack for more modern plugins using for example scss.
This project is based on another Open Source project from DevinVinson: WordPress Plugin Boilerplate.
I modified the initial project structure slightly and added mostly webpack and composer.
As well as a page for plugin settings, which in my experience is useful in 90% of projects, if you don't need it just remove it.
This project is ideally aimed at those who are comfortable with the DevinVision boilderplate but who wish to save time in setting it up.
- Clone project
git clone git@github.com:Ludwig44/WordPress-Plugin-Boilderplate-webpack-composer.git;
cd WordPress-Plugin-Boilderplate-webpack-composer;
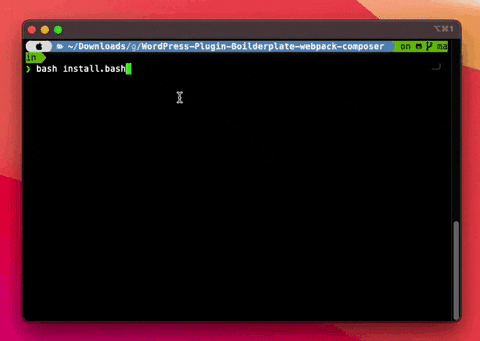
- To generate a new plugin it's very simple, just run the following command on the install.bash file at the root of the project:
bash install.bash
- Follow the instructions in your terminal.
- Go to the output folder and copy the generate folder to your plugin folder in your WordPress installation.
- Don't forget to activate your new plugin in your WordPress.
- Finish
All constantes defined by the plugin (the name PLUGIN_NAME is replace by your plugin name):
PLUGIN_NAME_VERSION: The version of your plugin.PLUGIN_NAME_TEXT_DOMAIN: The text domain of your plugin for internationnalisation.PLUGIN_NAME_PLUGIN_PATH: The plugin path for include files.PLUGIN_NAME_PLUGIN_URL: The plugin url to include script or style for example.
The plugin template embed a cron job class, for easily add cron job. For add one just follow this steps:
- Go to
/admin/class-cron-job, inplugin_name_crons_list()function - Add an element in the array with the following syntax (you have an exemple commmented in the file):
'exemple' => array(
        "file_path" => "admin/cron/exemple.php", // Replace by your cron job file path
        'interval' 	=> HOUR_IN_SECONDS * 24, // Replace by your interval
        'display' 	=> __( 'Exemple of description', PLUGIN_NAME_TEXT_DOMAIN ) // Replace by your description
    )
- Add file in the cron folder at
/admin/cron/or in other path. - You can test cron with WP Control
- For use translation open your pot file in
/languages/plugin-name.potwith Poedit. - Click on translation and properties
- Add the name of your project and others properties
- Save
- Your file is ready for translation
Execute all command for composer in /includes. For more documentation for composer follow this link.
The vendor is already installed when your plugin is generated unless composer was not installed on your machine, in this case go to /includes and run composer install.
Webpack usage (changed for @wordpress/scripts)
Execute all command for @wordpress/scripts in /public/assets.
Just launch npm install
- In
public/assets/src/jsadd a file for exempleexemple.js, you can import other files and component. For more information show this documentation. - Launch compilation with
npm run devornpm run prodcommand. - After lanch compilation, your file output in
public/assets/build.
- In
public/assets/src/scssadd a file for exempleexemple.scss. - Add in your js file exemple :
public/assets/src/js/exemple.jsan import for scss file. - Launch compilation.
- After lanch compilation, your file output in
public/assets/build.
- If you are in dev environement you can use this command
npm run devfor use hot reload and non minified code for js and css. - If you are in prod environement you can use this command
npm run prodfor minified css and js code.
When you compile files, you have 3 types of files in public/assets/build folder:
plugin-name.asset.php: This file is for register script and style in WordPress.plugin-name.js: This file is for js code.plugin-name.css: This file is for css code.
For use this files in WordPress, you have to register script and style in your plugin. For this you have to use wp_register_script and wp_register_style functions. For more information follow this link.
You can use this code for register script and style in WordPress:
$assets_data = include( PLUGIN_NAME_PLUGIN_PATH . 'public/assets/build/plugin-name.asset.php' );
wp_enqueue_script( 'plugin-name-js', PLUGIN_NAME_PLUGIN_URL . 'public/assets/build/plugin-name.js', $assets_data['dependencies'] ?? array(), $assets_data['version'] ?? filemtime( PLUGIN_NAME_PLUGIN_PATH . 'public/assets/build/plugin-name.js' ), true );
wp_enqueue_style( 'plugin-name-css', PLUGIN_NAME_PLUGIN_URL . 'public/assets/build/plugin-name.css', array(), filemtime( PLUGIN_NAME_PLUGIN_PATH . 'public/assets/build/plugin-name.css' ) );