Screen capture
"Use a picture. It's worth a thousand words." Sometimes, a screenshot can be good to include when discussing potential bugs you encounter.
MacOS has a built in ability to take screenshots.
While the website linked above has many options, it is suggested that you take a screenshot of just the specific part of your screen you want to share:
- Press Shift-Command-4. The pointer changes to a crosshair.
- Move the crosshair to where you want to start the screenshot, then drag to select an area.
- When you've selected the area you want, release your mouse or trackpad button. To cancel, press the Esc (Escape) key before you release the button.
- Find the screenshot as a .png file on your desktop.
Windows has a built in ability to take screenshots with the Snipping Tool.
On Windows 10, once you have opened the program you can right-click on its icon in the taskbar and choose "Pin to taskbar" so it will always be easy to access. Snipping Tool also allows you to make some basic edits to the image, which may be helpful to circle or highlight a specific portion of the image.
Sometimes a still image just is not enough to convey what is happening on the screen. In this case, try to include a gif or video of what is happening. To do this, follow the directions below:
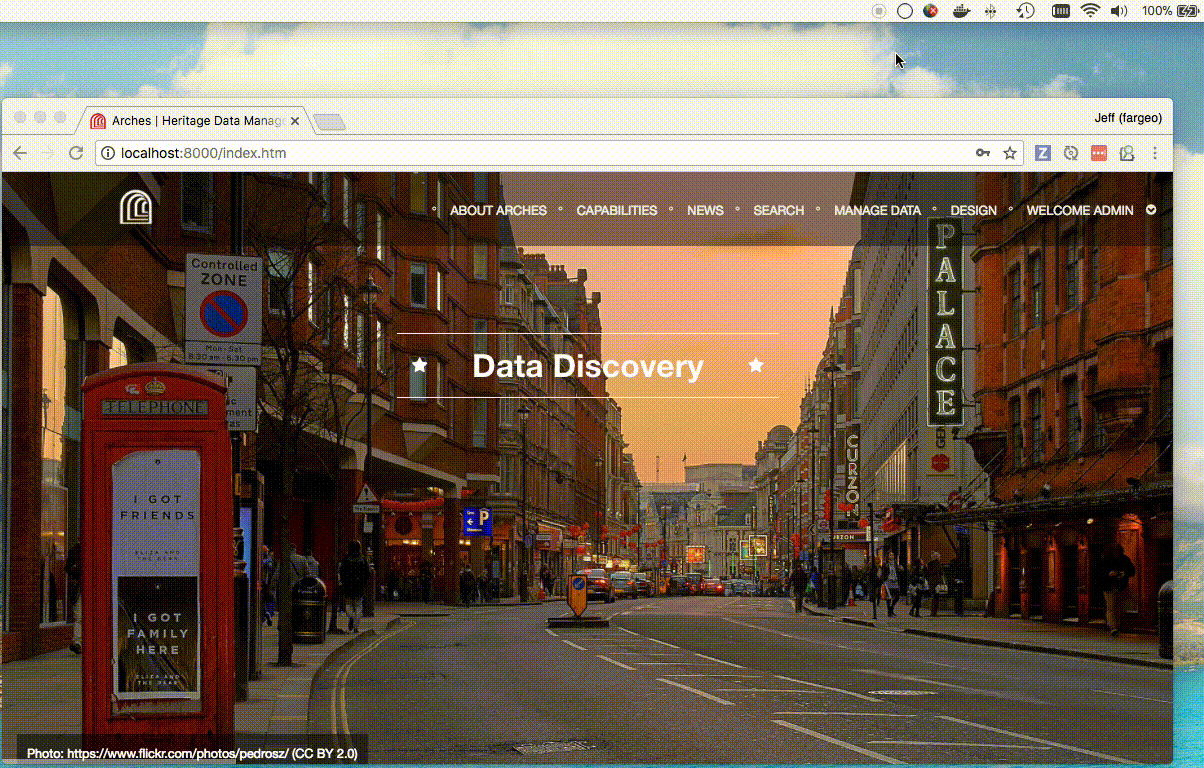
For screen recording on MacOS, try Kap.
Once you have downloaded and installed Kap, you can use it like this:
For screen recording on Windows, try ScreenToGif. ScreenToGif is a clean and light-weight screen recording software. It also allows you to save the recording as a project so you can go back and edit it later.
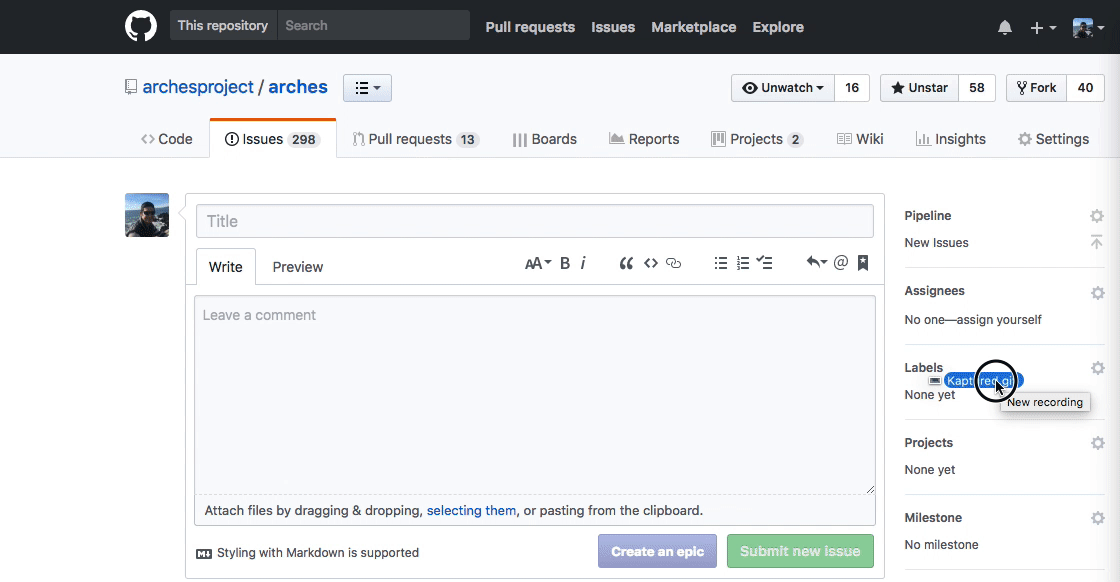
To attach to a specific issue, you can drag the GIF as shown: