How to get started
The TbSync add-on is listed on addons.thunderbird.net (a.k.a. ATN). To install the official version of TbSync, open Mozilla Thunderbird, go to the add-on page and search for TbSync. Install TbSync from the results list.
The official (stable) version might not be the latest release. To get the latest features, you may try the latest beta.
After the add-on has been installed successfully, the current status of the add-on is shown in the lower right corner of the main Thunderbird window. A single click on that status field will open the TbSync account manager. Alternativly, click on the wrench symbol in the add-on manager to open the TbSync account manager:

A third option to open the TbSync account manager is to click on the TbSync button in the main toolbar:

There is not much to see until some accounts have been defined. Open the Account actions menu in the lower left corner to add a new account.

When adding an ActiveSync account, you will be prompted for the following details:
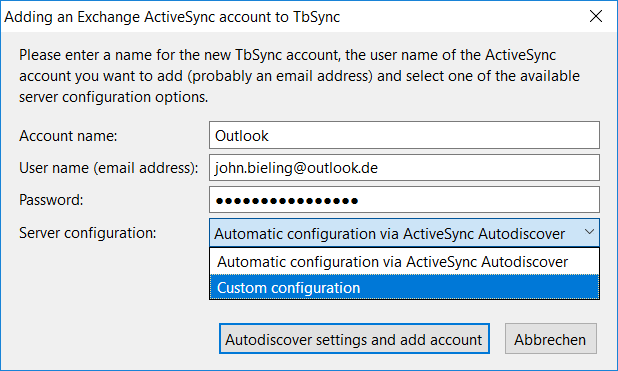
Choose any name to identify the new account, enter your user name (for ActiveSync that is probably an email address) and your password.
Note: Most ActiveSync servers support an automated configuration process called Autodiscover. If this is not working for your ActiveSync account then you'll have to select custom configuration and enter the server details by yourself.
When adding a CalDAV & CardDAV account, you will be prompted to select a server type:
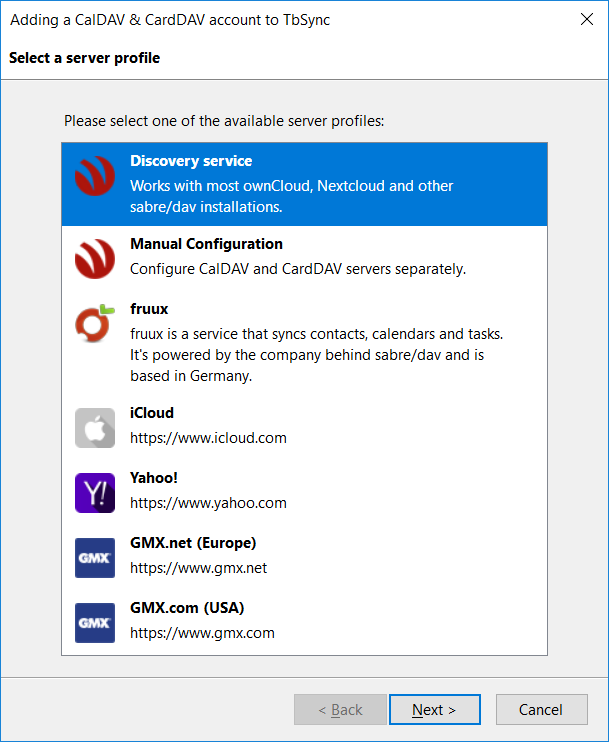
If your server does not have the discovery service configured, you need to select Manual configuration and provide the server addresses for your CalDAV and your CardDAV server. There are also a few pre-defined server configurations to simplify the setup process. The discovery service works for most self-hosted servers like ownCloud and Nextcloud and you usually only have to provide the base URL like cloud.mysever.com.
Before enabling the account, you may check the settings and the available options, which should be self explanatory.

An activated account will display a list of all resources available on your server:

TbSync supports contact, tasks and calendars. Select which resource you want to synchronize and click on Synchronize now.
The status of each resource will contain the name of the local synchronized item. In this example, the calendar of the shown Outlook account has been synchronized to a Thunderbird calendar called Kalender (Outlook) and the address book has been synchronized to a Thunderbird address book called Kontakte (Outlook). You are free to change these auto-generated names.
At the moment, TbSync does not support push sync. Changes will only be synchronized, if you click on Synchronize now. However, you can enable AutoSync by settings up a sync interval in minutes. TbSync will then synchronize your account automatically.