#Small improvement - Big impact
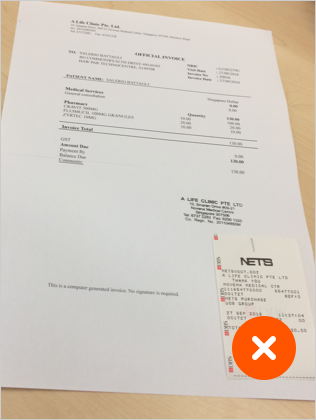
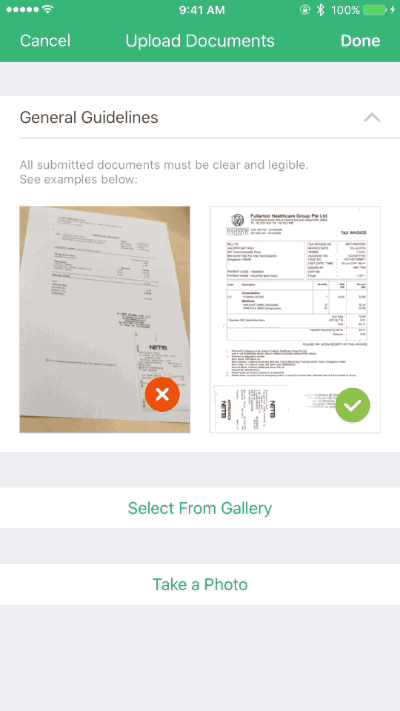
###Real life story In CXA (as a broker company) we process huge amount of documents every single day. Recently we decided to shift more in paperless document processing. Less paperwork - faster claim turnaround - happier customers. And we started to encourage clients to upload right documents by explaining them what the right document is and how to scan documents in a way they could be used without requesting original hard copies. I thought “what else could I do to improve this entire process and eliminate user errors?”. Very often clients send us document photos taken on their smartphone.

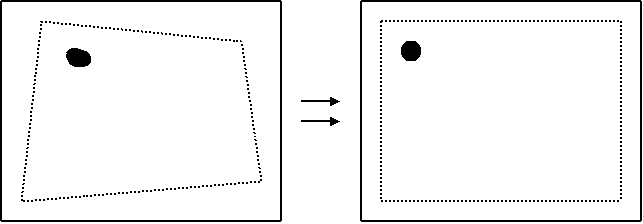
And this is how idea of image perspective correction was born.
Image perspective correction is a warp transformation which basically changes “point of view” to the object:
There is a good post on FlexMonkey website about “Perspective Transform & Correction with Core Image”.
In their tutorial you basically have two images (background and source) and to place source image on background you need to:
- Detect area (edges) on background image
- Figure out image transformation from step 1
- Apply this transformation to the source image
- Combine background and transformed source image
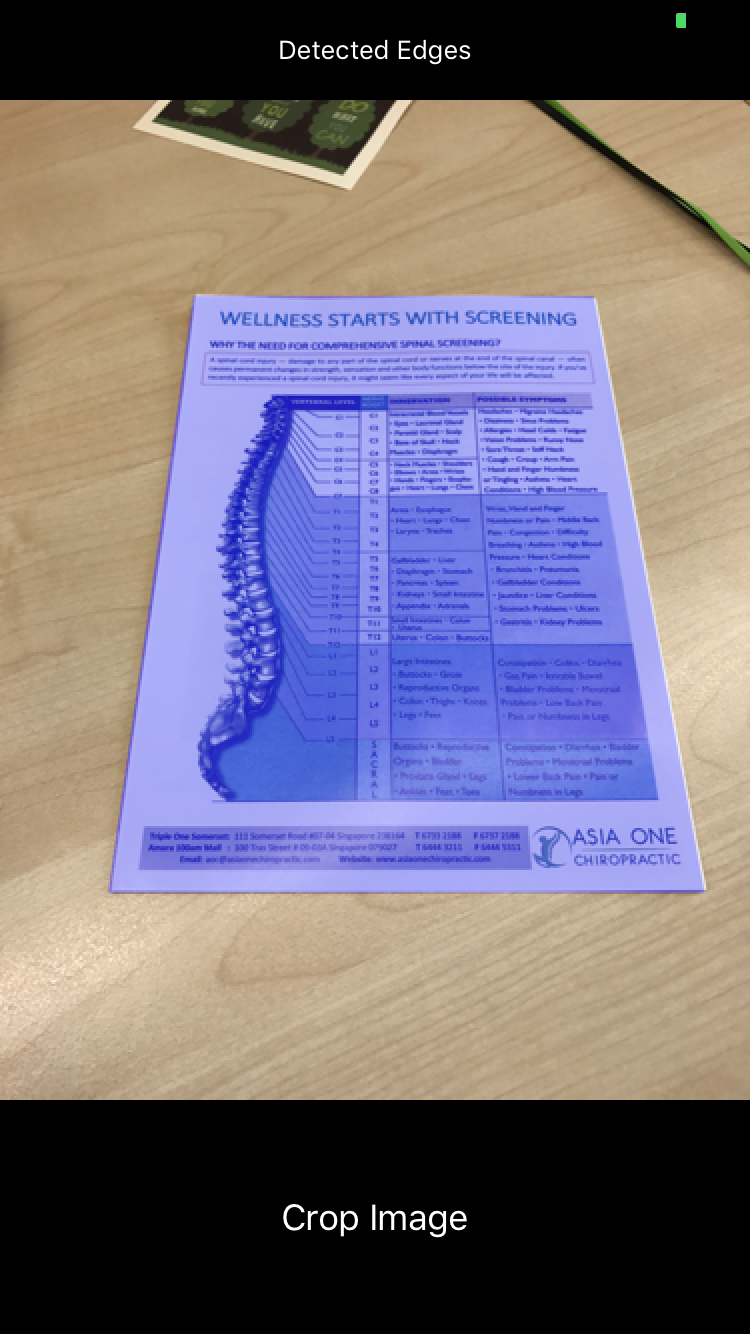
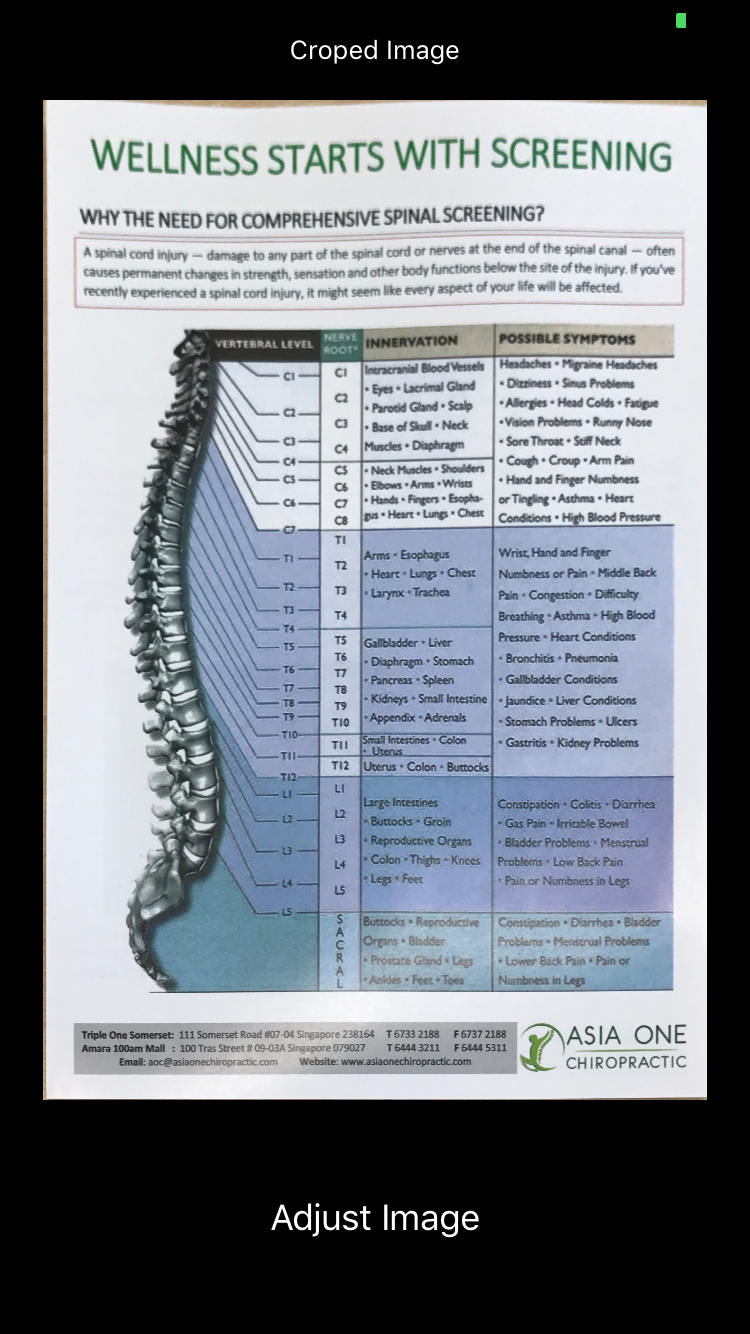
To solve our problem I still need to detect edges but after that I need to crop detected area:
- Detect area (edges) on background image
- Figure out image transformation from step 1
- Apply this transformation and crop to background image
Sounds not so terrible 🤓
Let’s code this!
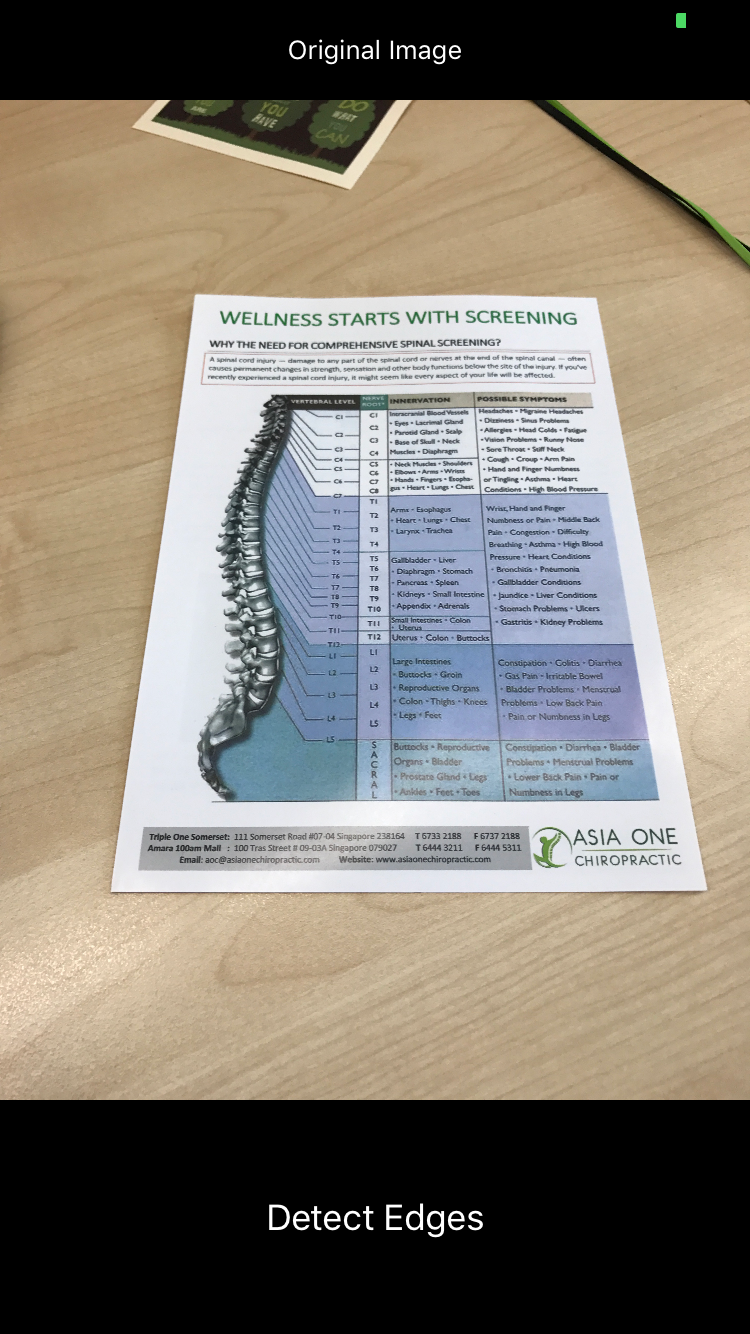
let originalImage = UIImage(named: "doc")
let docImage = CIImage(image: originalImage!)!
var rect: CIRectangleFeature = CIRectangleFeature()
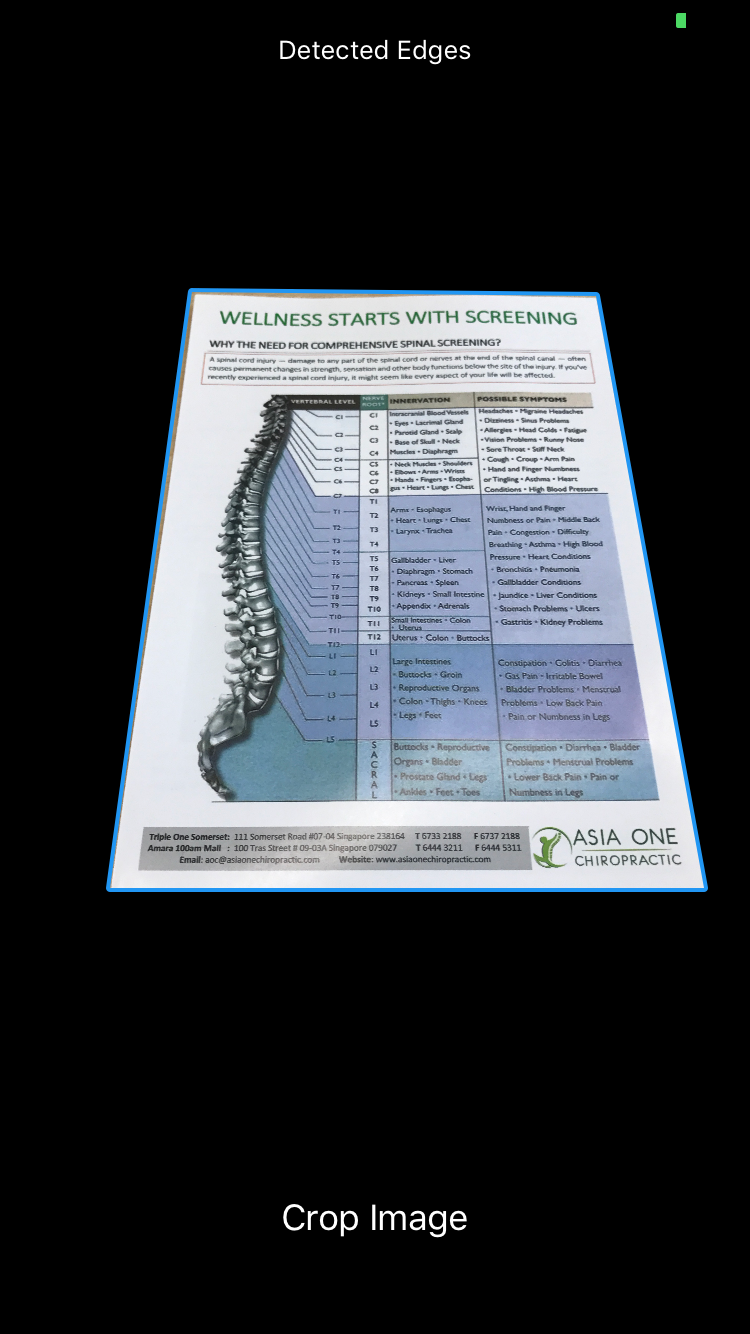
// First step: Detect edges on our photo:
if let detector = CIDetector(ofType: CIDetectorTypeRectangle,
context: ciContext,
options: [CIDetectorAccuracy: CIDetectorAccuracyHigh]) {
rect = detector.features(in: docImage).first as! CIRectangleFeature
}
// Second step: Prepare transformation:
let perspectiveCorrection = CIFilter(name: "CIPerspectiveCorrection")!
let docImage = CIImage(image: originalImage!)!
perspectiveCorrection.setValue(CIVector(cgPoint:rect.topLeft),
forKey: "inputTopLeft")
perspectiveCorrection.setValue(CIVector(cgPoint:rect.topRight),
forKey: "inputTopRight")
perspectiveCorrection.setValue(CIVector(cgPoint:rect.bottomRight),
forKey: "inputBottomRight")
perspectiveCorrection.setValue(CIVector(cgPoint:rect.bottomLeft),
forKey: "inputBottomLeft")
perspectiveCorrection.setValue(docImage,
forKey: kCIInputImageKey)
// Third step: Apply transformation
let outputImage = perspectiveCorrection.outputImage
// Optional forth step: Adjust contrast, brightness and saturation for better image recognition:
let finalImage = CIFilter(name: "CIColorControls", withInputParameters: [
kCIInputImageKey: outputImage,
kCIInputBrightnessKey: NSNumber(value: 0.0),
kCIInputSaturationKey: NSNumber(value: 0.0),
kCIInputContrastKey: NSNumber(value: 1.14)]
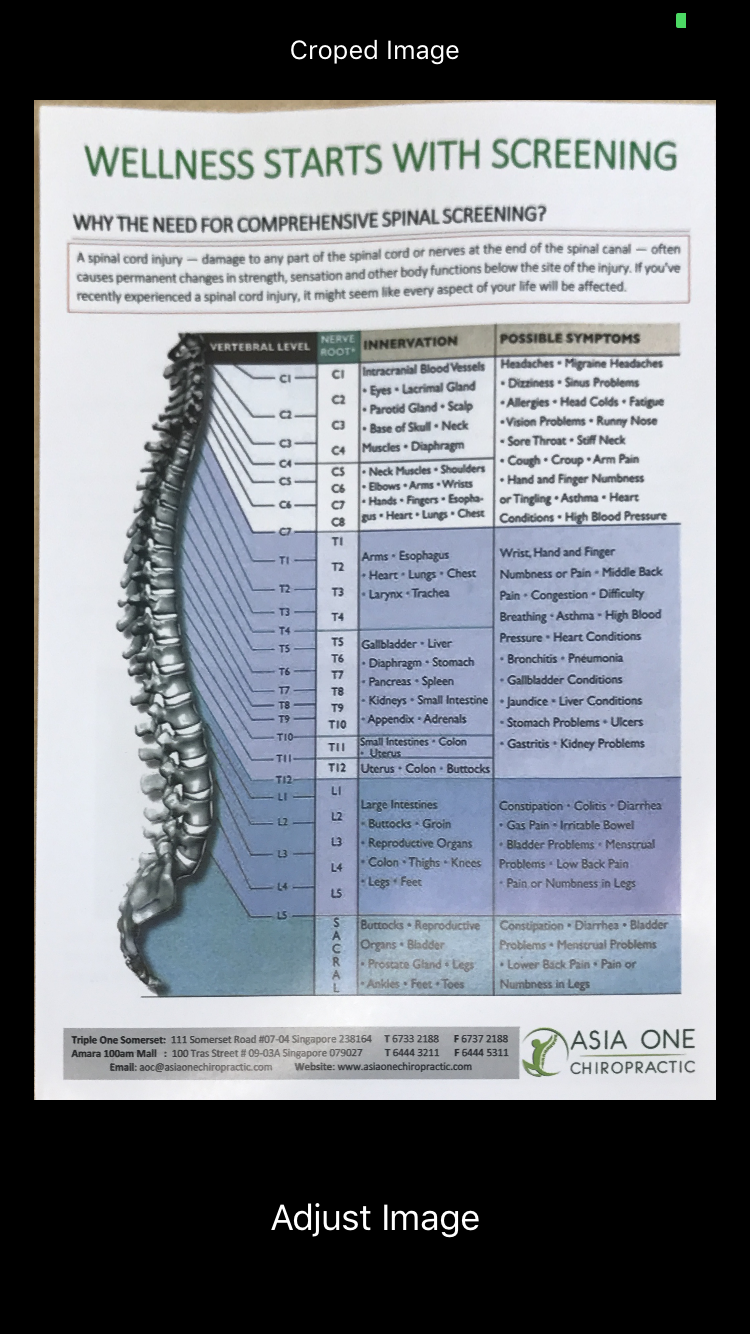
)?.outputImageHere is how it works:

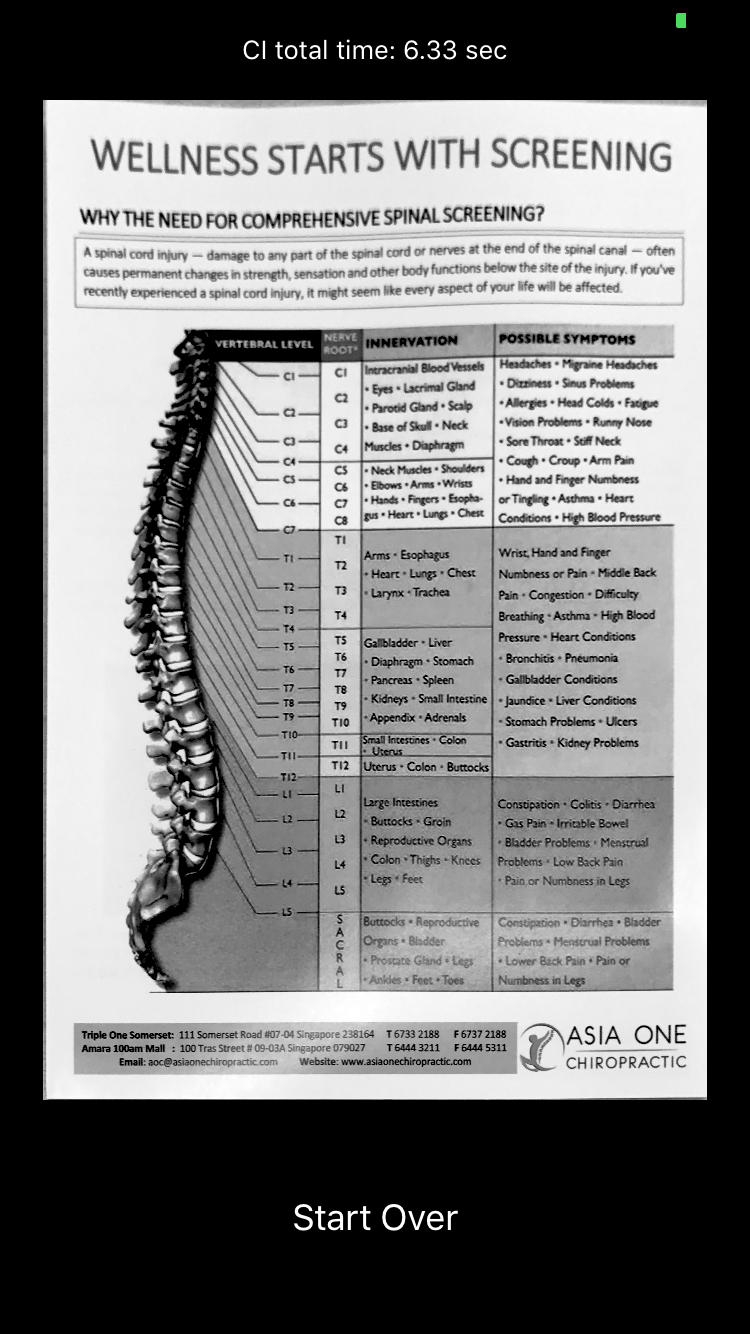 

Now I have grayscale final image fully ready for recognition! 😎🙌
Some more coding and I’m testing this code on different images right from camera. And BOOM!
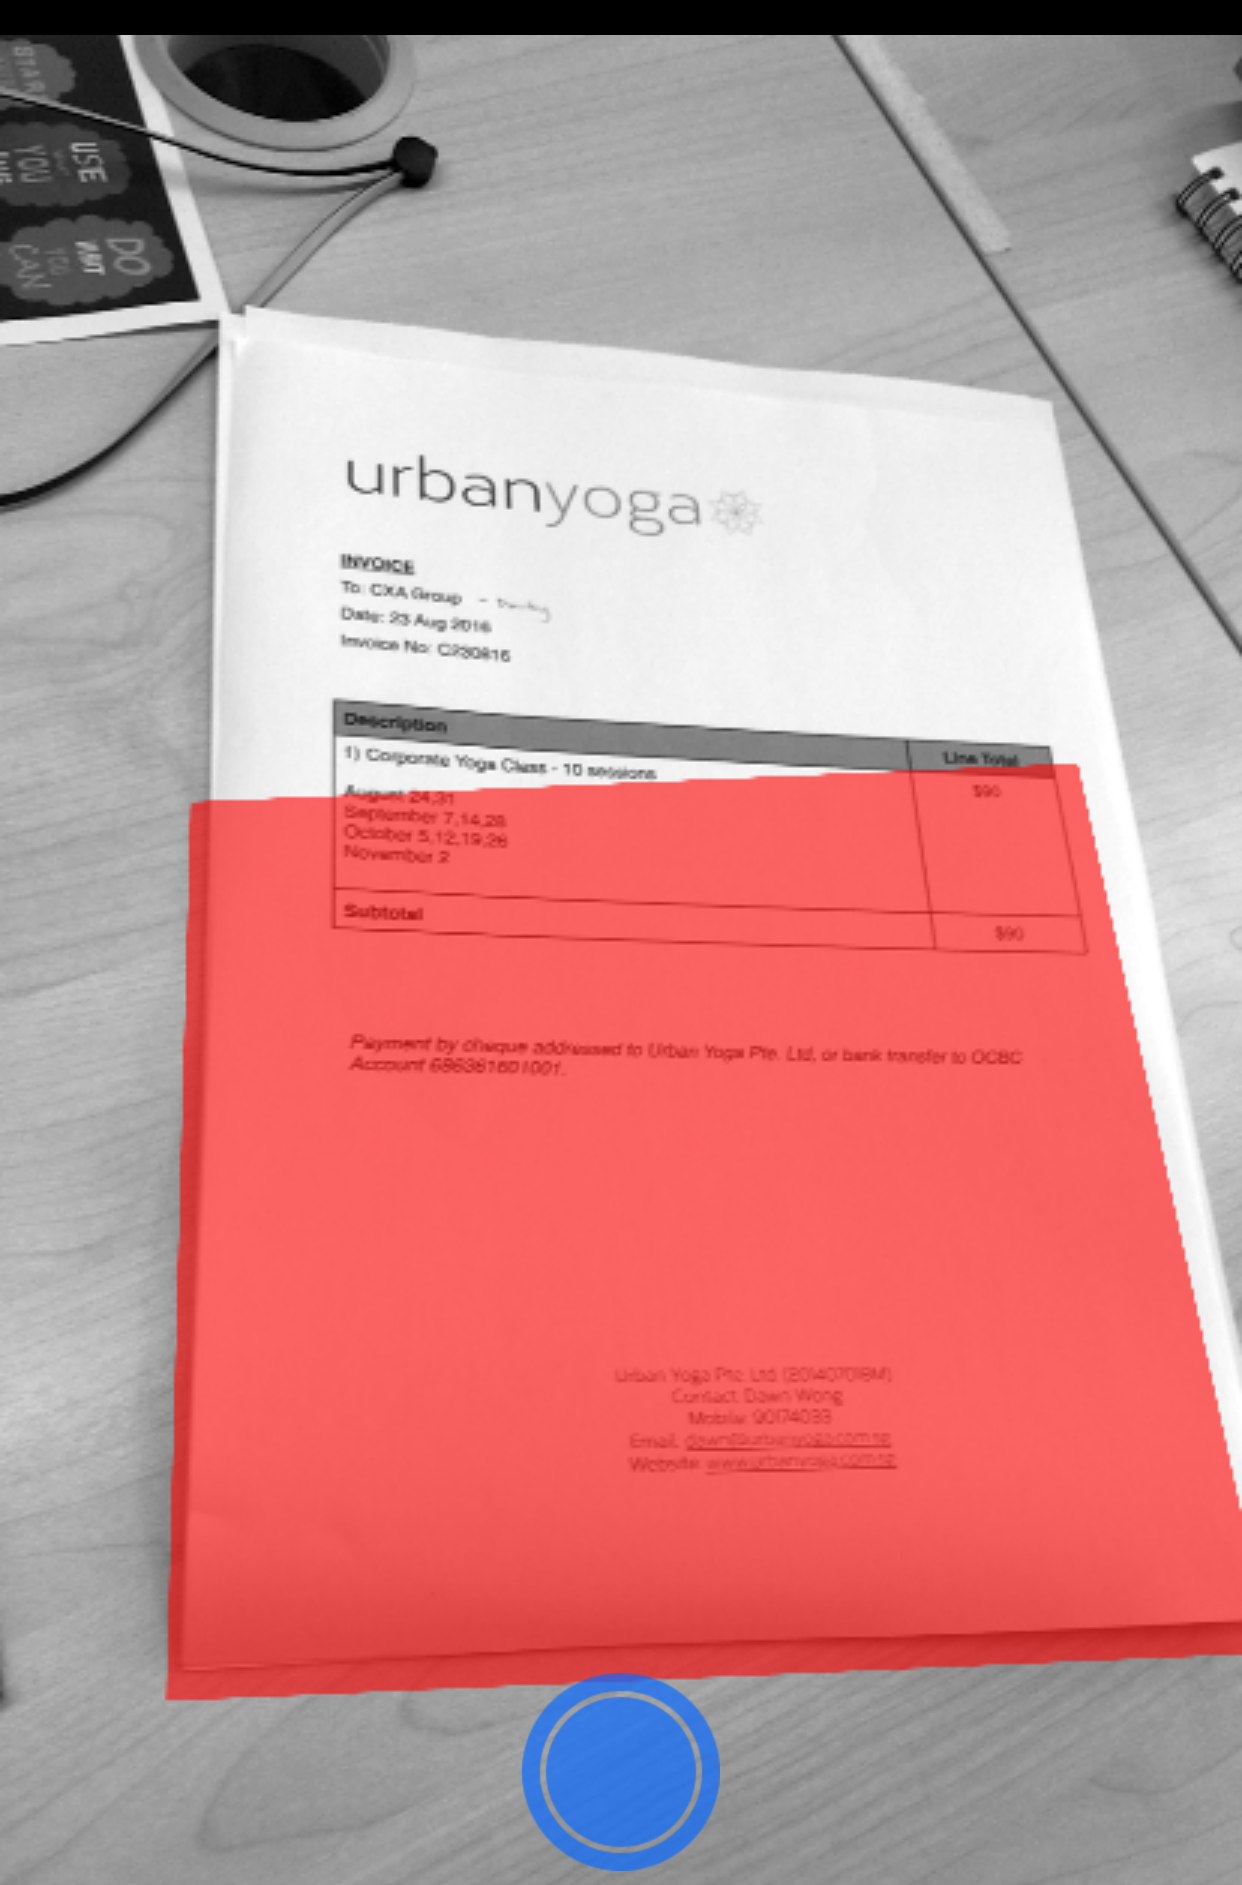
I see that edge detection doesn’t work really well on real life sample photos 😱🤔
Ok... some googling shows that quite popular image processing library - OpenCV might produce much better results. Robin posted very descriptive article on how to run this cross-platform library on iOS. The main problem is that OpenCV is implemented on C/C++ and Swift can’t directly work with C++ code. So it requires to implement wrapper layer for OpenCV. There are already bunch of samples on how to do this properly. Ok, let’s just implement our algorithm now on OpenCV. I’ve implemented interaction with OpenCV library mostly as a UIImageView and UIImage categories:
#import <UIKit/UIKit.h>

typedef struct CropRect {
    CGPoint topLeft;
    CGPoint topRight;
    CGPoint bottomLeft;
    CGPoint bottomRight;
} CropRect;

@interface UIImageView (OpenCV)

- (CropRect)detectEdges;
- (UIImage *)crop: (CropRect)cropRect andApplyBW:(BOOL)applyBW;
- (void)showCrop: (CropRect)cropRect;

@end

@interface UIImage (OpenCV)

//cv::Mat to UIImage
+ (UIImage *)imageWithCVMat:(const cv::Mat&)cvMat;
- (id)initWithCVMat:(const cv::Mat&)cvMat;

 //UIImage to cv::Mat
- (cv::Mat)CVMat;
- (cv::Mat)CVMat3;  // no alpha channel
- (cv::Mat)CVGrayscaleMat;

@end
Full source code is available on github
Here is how last implementation works with OpenCV:
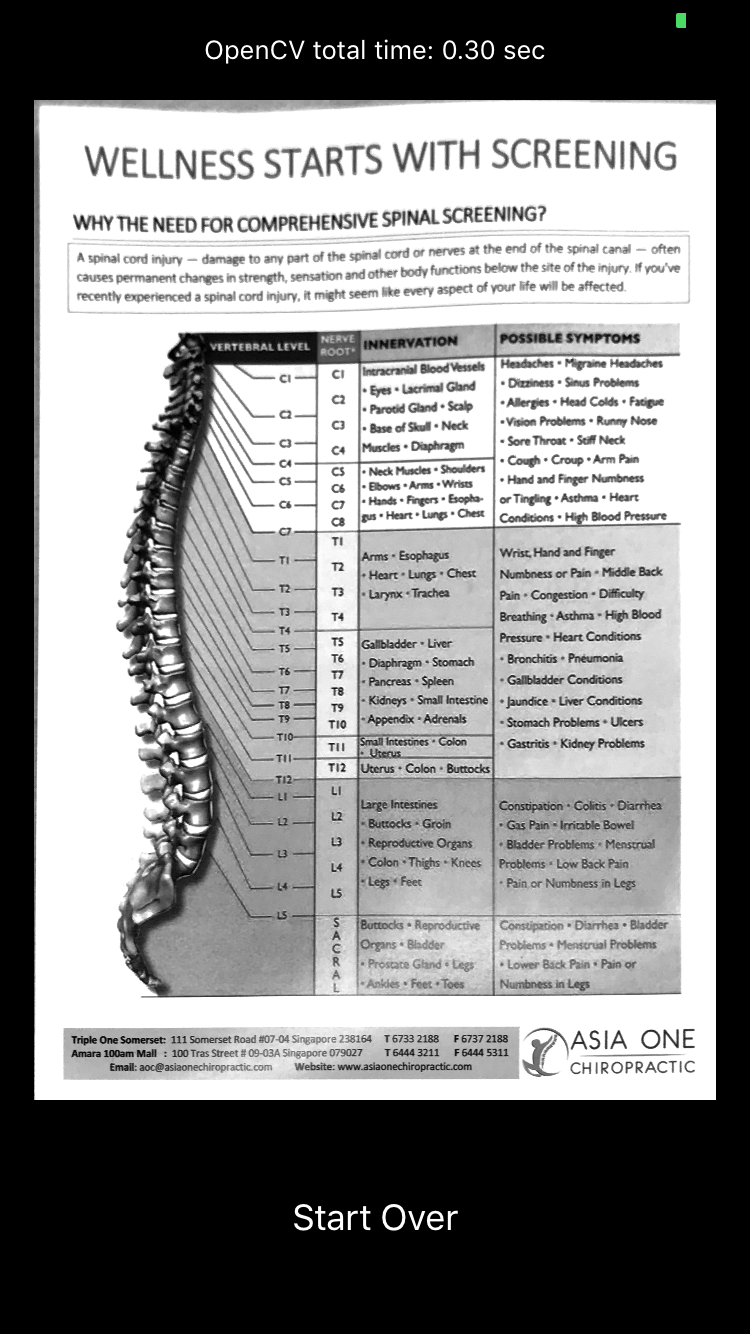
Surprisingly now even in some edge-cases document detection works really well! 🎉
###Conclusion: Very often first implementation doesn’t show great results. Like in my case modern CoreImage filters seem very easy to pickup and make it work in just matter of minutes but came up with some disappointing results. In same time old image processing library does the thing. And couple of hours of wiring this C++ library with Swift application definitely worth it.
Try again and again, be curious, be insistent!
What we’ve got?

Now CXA application has extremely reliable way of taking well-prepared document photos which are:
- easy to read
- ready for further data processing (like OCR)
- lighter, so app consumes less internet traffic
And finally: better documents quality causes shorter claims turnaround - more happier customers!